There is nothing quite like the aroma of a freshly baked loaf of artisan bread wafting through the kitchen.
For many, true sourdough represents the pinnacle of home baking, with its shatteringly crisp crust, open crumb, and that signature, mouth-watering tang.
However, cultivating and maintaining a wild sourdough starter can feel like adopting a high-maintenance pet. Between the strict feeding schedules, the discarded flour, and the days of waiting, many aspiring bakers find themselves discouraged before they even preheat their ovens.
Enter the ultimate baking cheat code: bread that tastes, looks, and feels exactly like traditional sourdough, but relies entirely on regular active dry yeast!
By utilizing a poolish (a simple preferment), this method coaxes deep, complex, and distinctively sour flavours out of everyday ingredients in a fraction of the time. You skip the week of starter cultivating, but still get to enjoy the deeply satisfying rustic charm of a bakery-style boule.
SAVE THIS RECIPE TO PINTEREST!
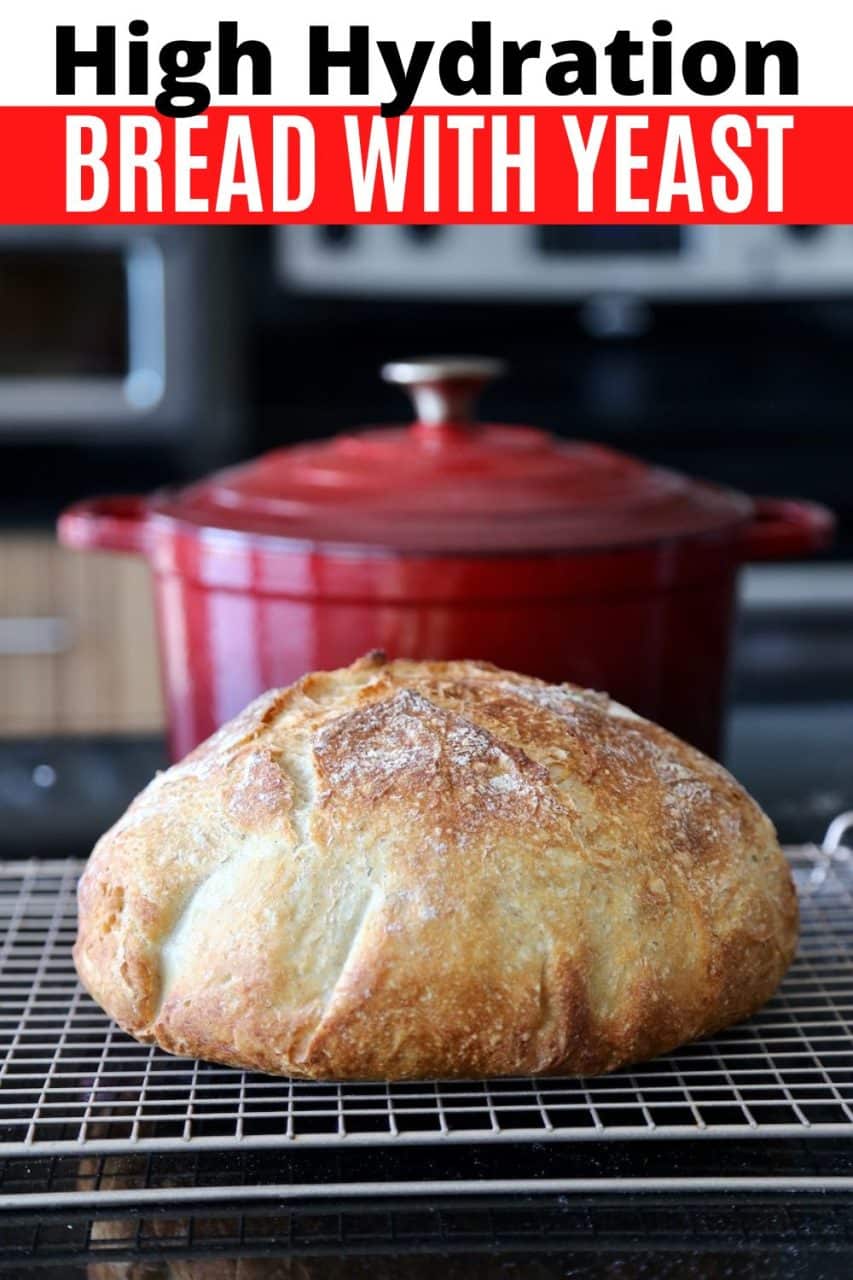
Same Day Artisan Bread Made With Yeast
I became a Sourdough Discard expert in the early days of the pandemic, baking English muffins, bagels, pizza and crunchy loaves using a frothy sourdough starter that I fed daily. My artisan bread standards had hit a new high!
Now that I’m off to work and not stuck indoors all day I don’t have the time, or interest, in lovingly feeding a starter each morning. But I still demand perfect high hydration bread!
After developing a recipe for homemade Olive Ciabatta that was perfection, I decided to tweak the high hydration dough recipe to see if it would work well on a shorter proofing schedule and the results blew my expectations out of the water! Never again will I make sourdough bread, this quick and easy recipe does the trick!
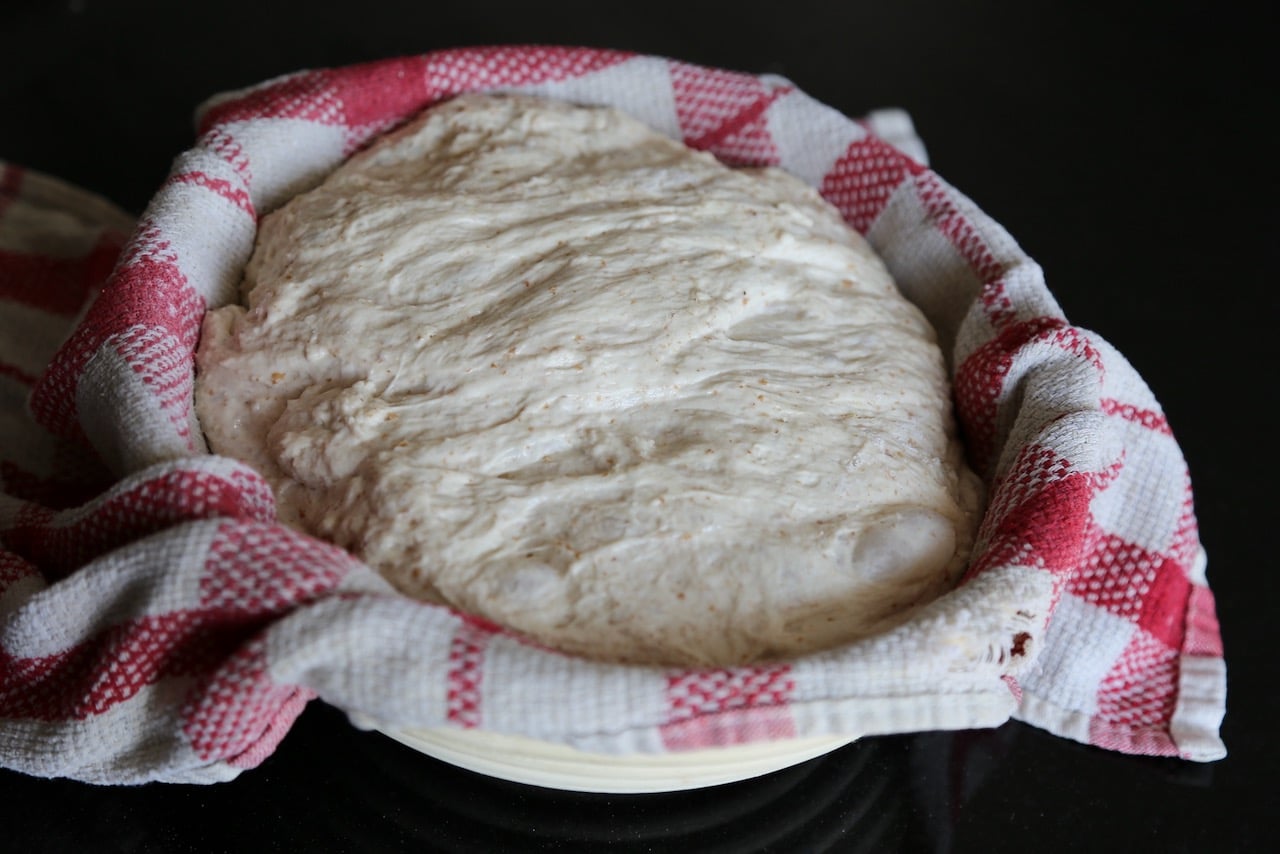
My “Can’t Believe It’s Not Sourdough” recipe bridges the gap between quick-commercial yeast breads and slow-fermented artisan sourdough.
At its core, it is a yeast-based bread that mimics the structural and flavour characteristics of traditional sourdough by using a poolish. A poolish is a pre-ferment made from equal parts flour and water mixed with a tiny pinch of yeast. Allowed to ferment ahead of time, it develops the lactic and acetic acids that give traditional sourdough its standard sour notes and visual chewiness.
Combined with a touch of whole wheat flour for earthiness and a high-heat Dutch oven bake, this bread fools even seasoned sourdough enthusiasts.
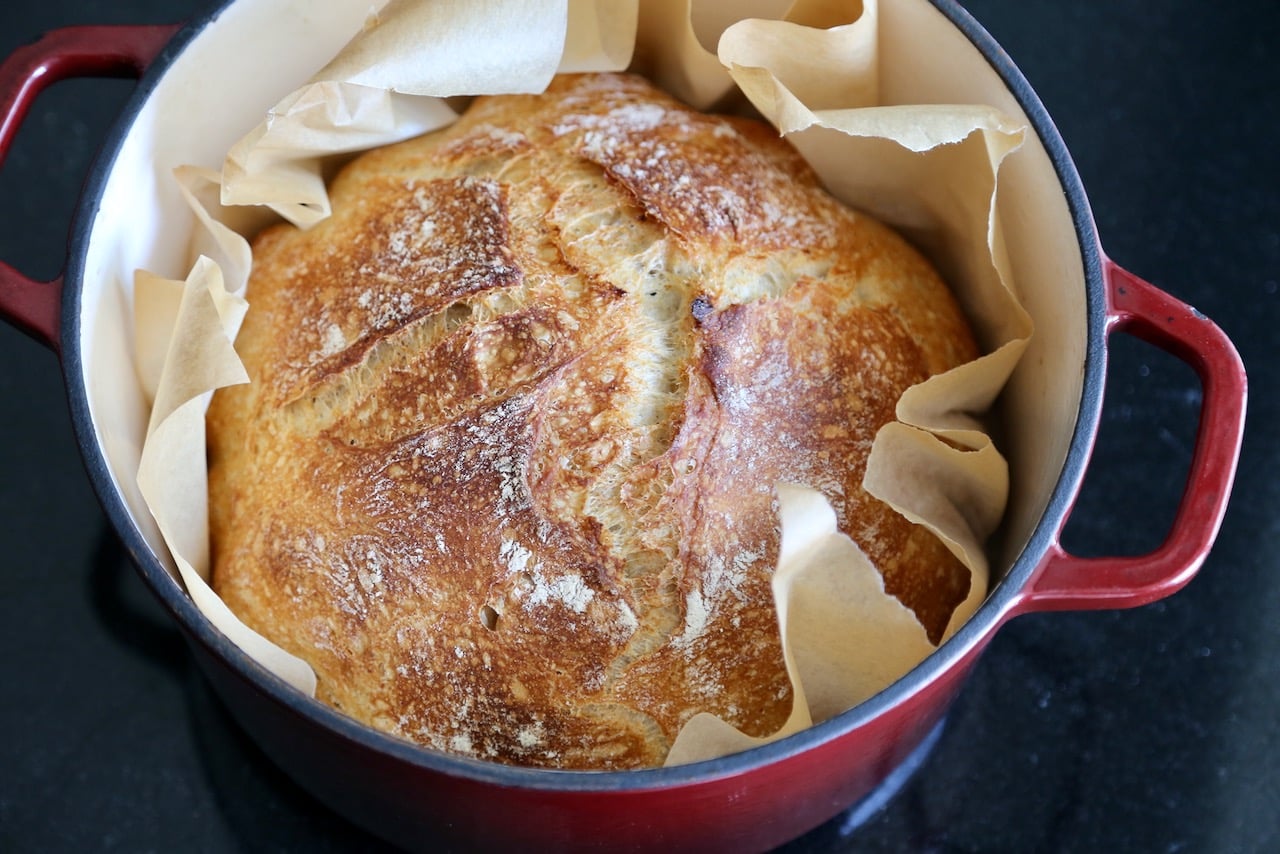
Why You’ll Love This Recipe
- No Starter Required: Say goodbye to the anxiety of feeding, reviving, or forgetting a finicky sourdough starter. Standard active dry yeast does all the heavy lifting here.
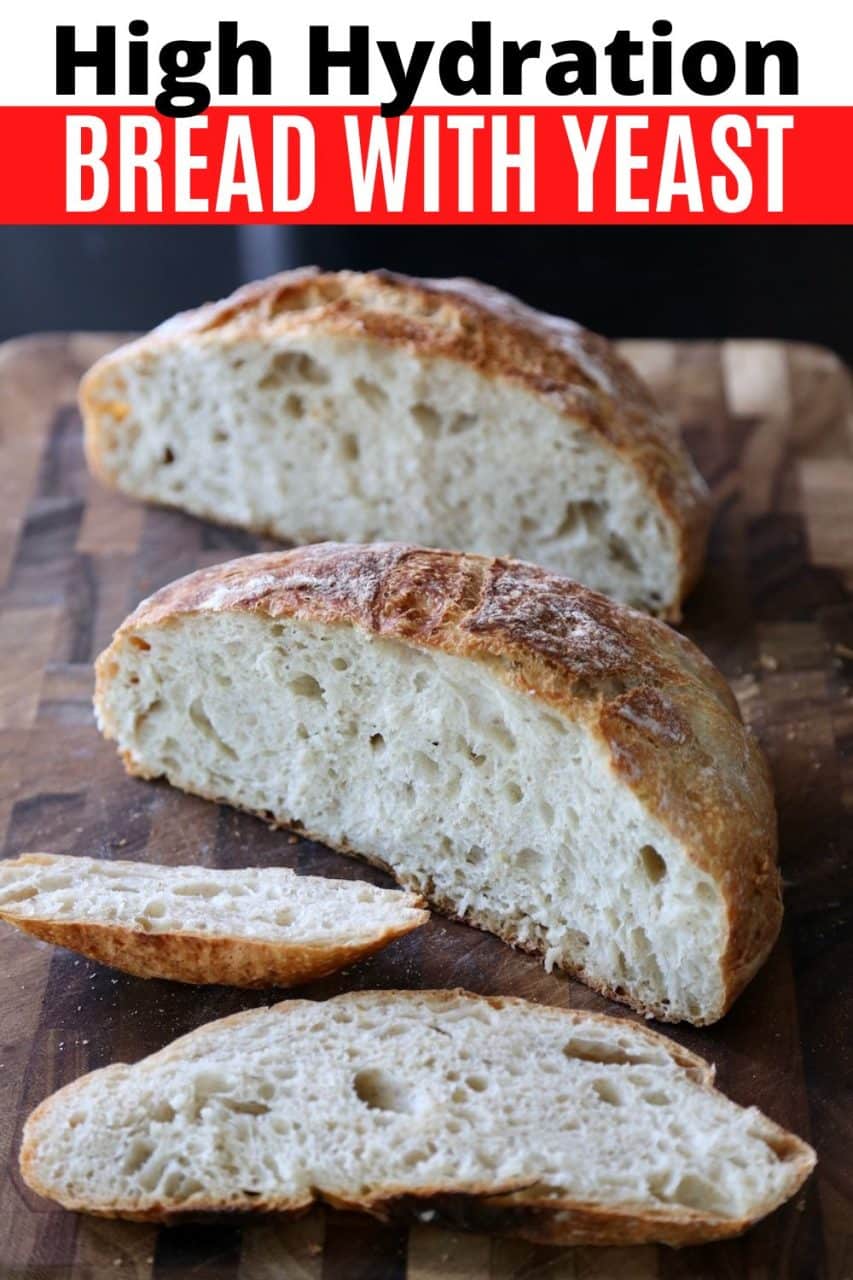
- Incredible Sourdough Flavour: Thanks to the preferment stage and a series of gentle stretches and folds, the bread develops rich, complex flavour profiles and an open, airy crumb structure.
- Foolproof Dutch Oven Method: Baking inside a preheated Dutch oven traps the moisture releasing from the dough, mimicking professional steam ovens to create an impossibly crispy, blistered crust.
- Yields A Beautiful Loaf: This recipe makes one large rustic boule, meaning you can enjoy half immediately and freeze the other to enjoy later.
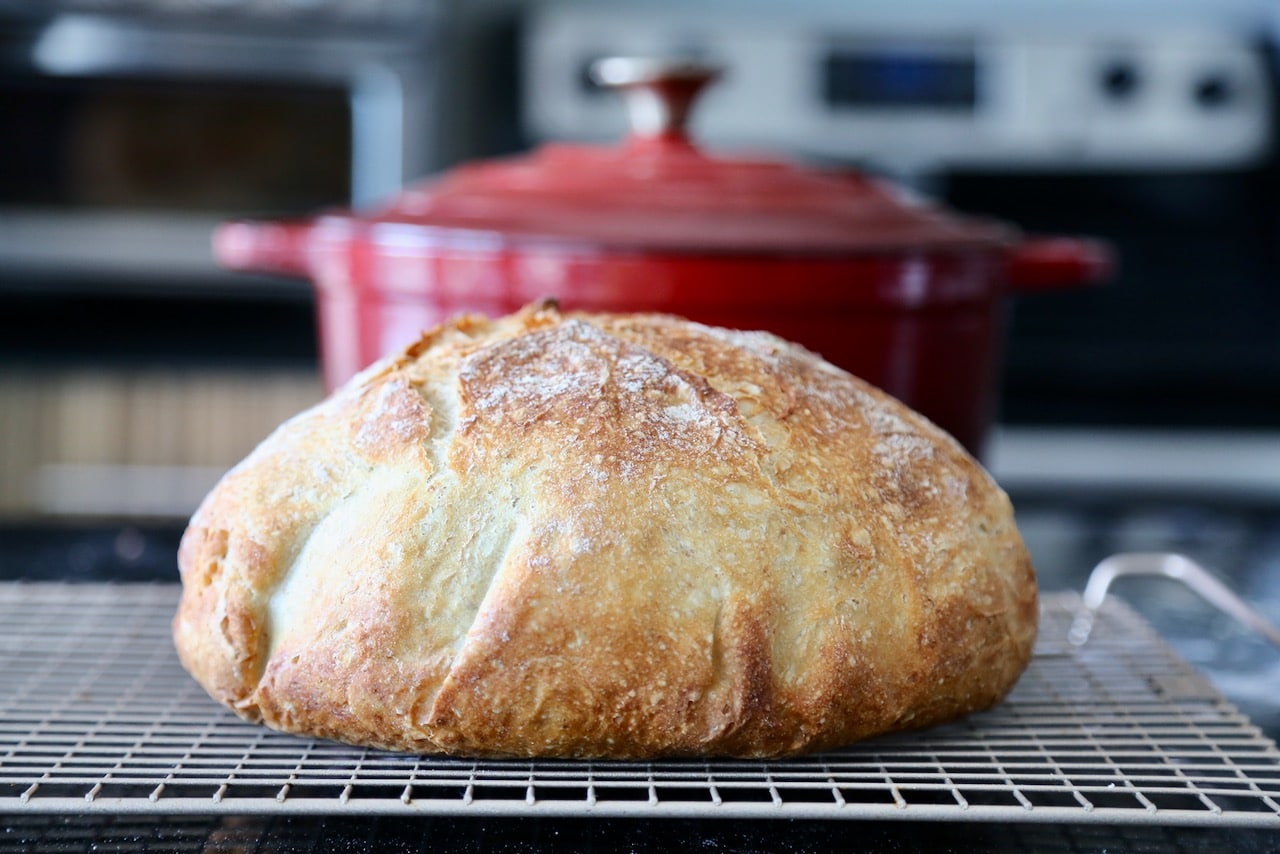
Recipe Tips
- Use a Kitchen Scale: For bread baking, weight measurements (grams) are infinitely more accurate than volume (cups). It ensures your hydration levels are perfectly balanced.
- Wet Your Hands: The dough is meant to be wet and sticky. When performing the stretch-and-folds, lightly dip your hands in water to prevent the dough from sticking to your fingers.
- Watch the Temperature: Yeast thrives in warm environments, but water that is too hot (over 110°F) will kill it. Ensure your water feels comfortably lukewarm to the touch.
- Don’t Rush the Preheat: Letting your Dutch oven heat at 500°F for at least 30 minutes before dropping the dough inside ensures maximum oven spring and a gorgeous, blistered crust.

Serving Suggestions
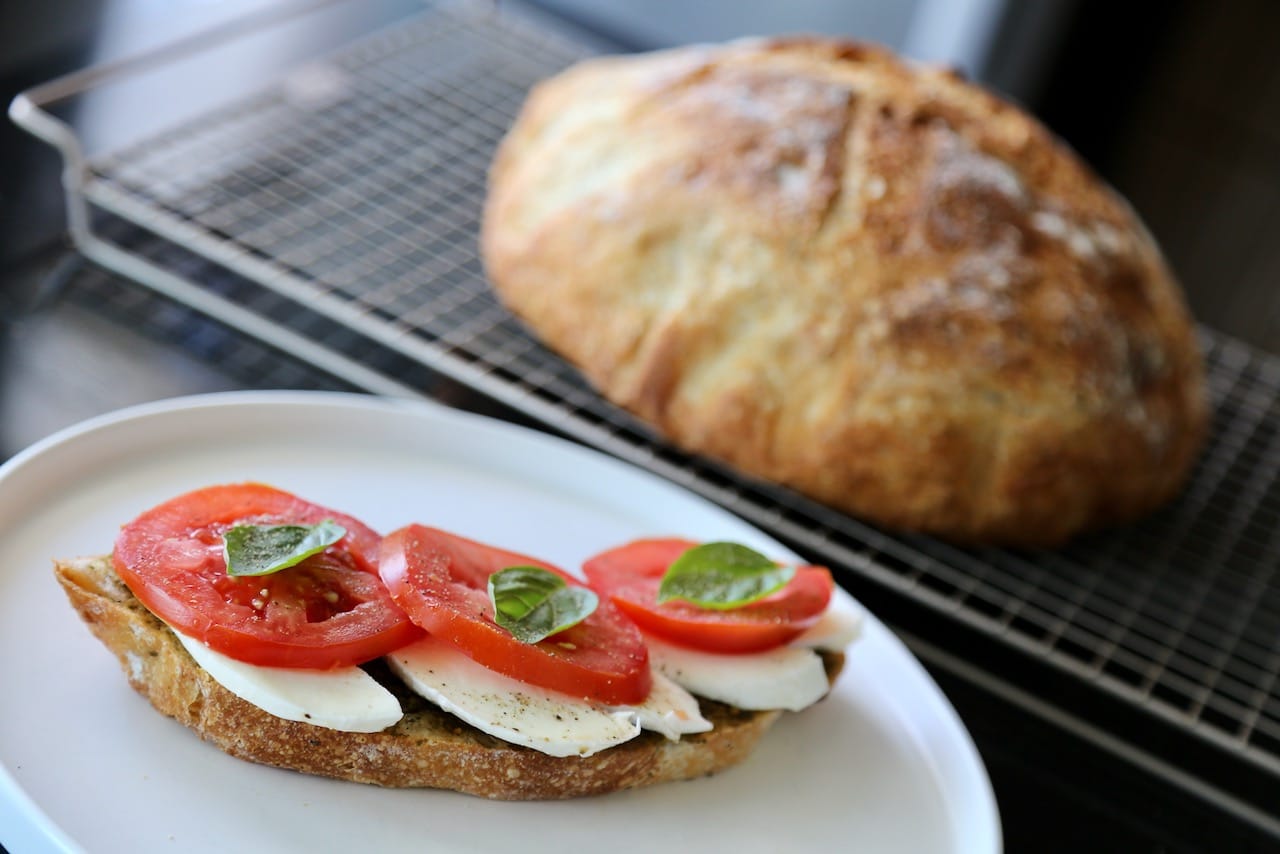
This bread is remarkably versatile. Slice it thick and slather it with high-quality salted butter while it’s still slightly warm for the ultimate comfort food.
It serves as the perfect, sturdy base for gourmet avocado toast topped with a poached egg and red pepper flakes, or sliced thin for a world-class grilled cheese sandwich.
Because of its robust crust and tangy crumb, it also pairs beautifully alongside a bowl of hearty stew or creamy soup, or used to wipe up extra virgin olive oil and balsamic vinegar before a meal.
Toast slices until browned to make homemade crostini and serve alongside your favourite dips and spreads.
Can’t Believe It’s Not Sourdough: Artisan Bread Made With Yeast
Equipment
- Scale
- Mixing bowls
- Dutch Oven
- Banneton Proofing Baskets
Ingredients
Poolish
- 50 g All Purpose Flour
- 2 g Active Dry Yeast
- 50 g Warm Water
Bread Dough
- 360 g Warm Water
- 12 g Kosher Salt
- 400 g All Purpose Flour
- 50 g Whole Wheat Flour
Instructions
- In a large bowl, whisk together the 50 grams flour and the 2 grams of yeast. Add 50 grams warm water and stir with a spatula until combined. Cover the bowl with a tea towel or cloth bowl cover and set aside for 1 hour or until the dough’s surface is dimpled with holes.
- To the bowl of the poolish, add the water. The sponge should release from the bowl and parts of it, if not all of it, will float. Add the salt and stir briefly. Add both flours, then stir until you have a wet, sticky dough ball. Cover with a tea towel or cloth bowl cover and let sit for 30 minutes.
- With wet hands, grab one side of the dough, and pull up and to the centre. Rotate the bowl a quarter turn, and repeat the grabbing and pulling. Do this until you’ve made a full circle. Cover the bowl. If time permits, repeat this process three more times at 30-minute intervals for a total of 4 sets of stretches and folds over the course of two hours.
- Place dutch oven on the bottom rack of the oven and preheat to 500 F.
- Tip the dough onto a lightly floured surface. Gently, using both hands, form into a ball. Dust with flour.
- Gently place the ball into a floured banneton basket and let proof for 30 additional minutes, or until the oven reaches 500 F.
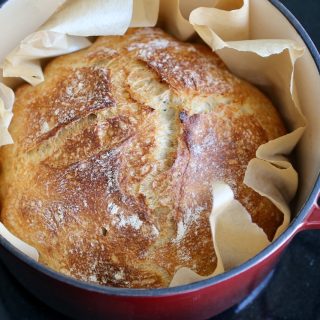
- Tip the dough out onto a piece of parchment paper. Using a sharp knife slice an x onto the surface of the dough. Remove the dutch oven from the oven and slowly lower the dough in parchment paper into the hot pot. Place the lid on the dutch oven and slide into the oven. Bake for 20 minutes.
- Remove the lid from the dutch oven and bake for an additional 15-20 minutes.
- Tip the loaf out of the dutch oven and place on a cooling rack.
- Let loaf cool to room temperature (typically 1 hour) before slicing.
Nutrition
SAVE THIS RECIPE TO PINTEREST!

Turned out delicious and just like a sourdough loaf.
glad you enjoyed!